Chocolate Chip Sourdough Discard Scones
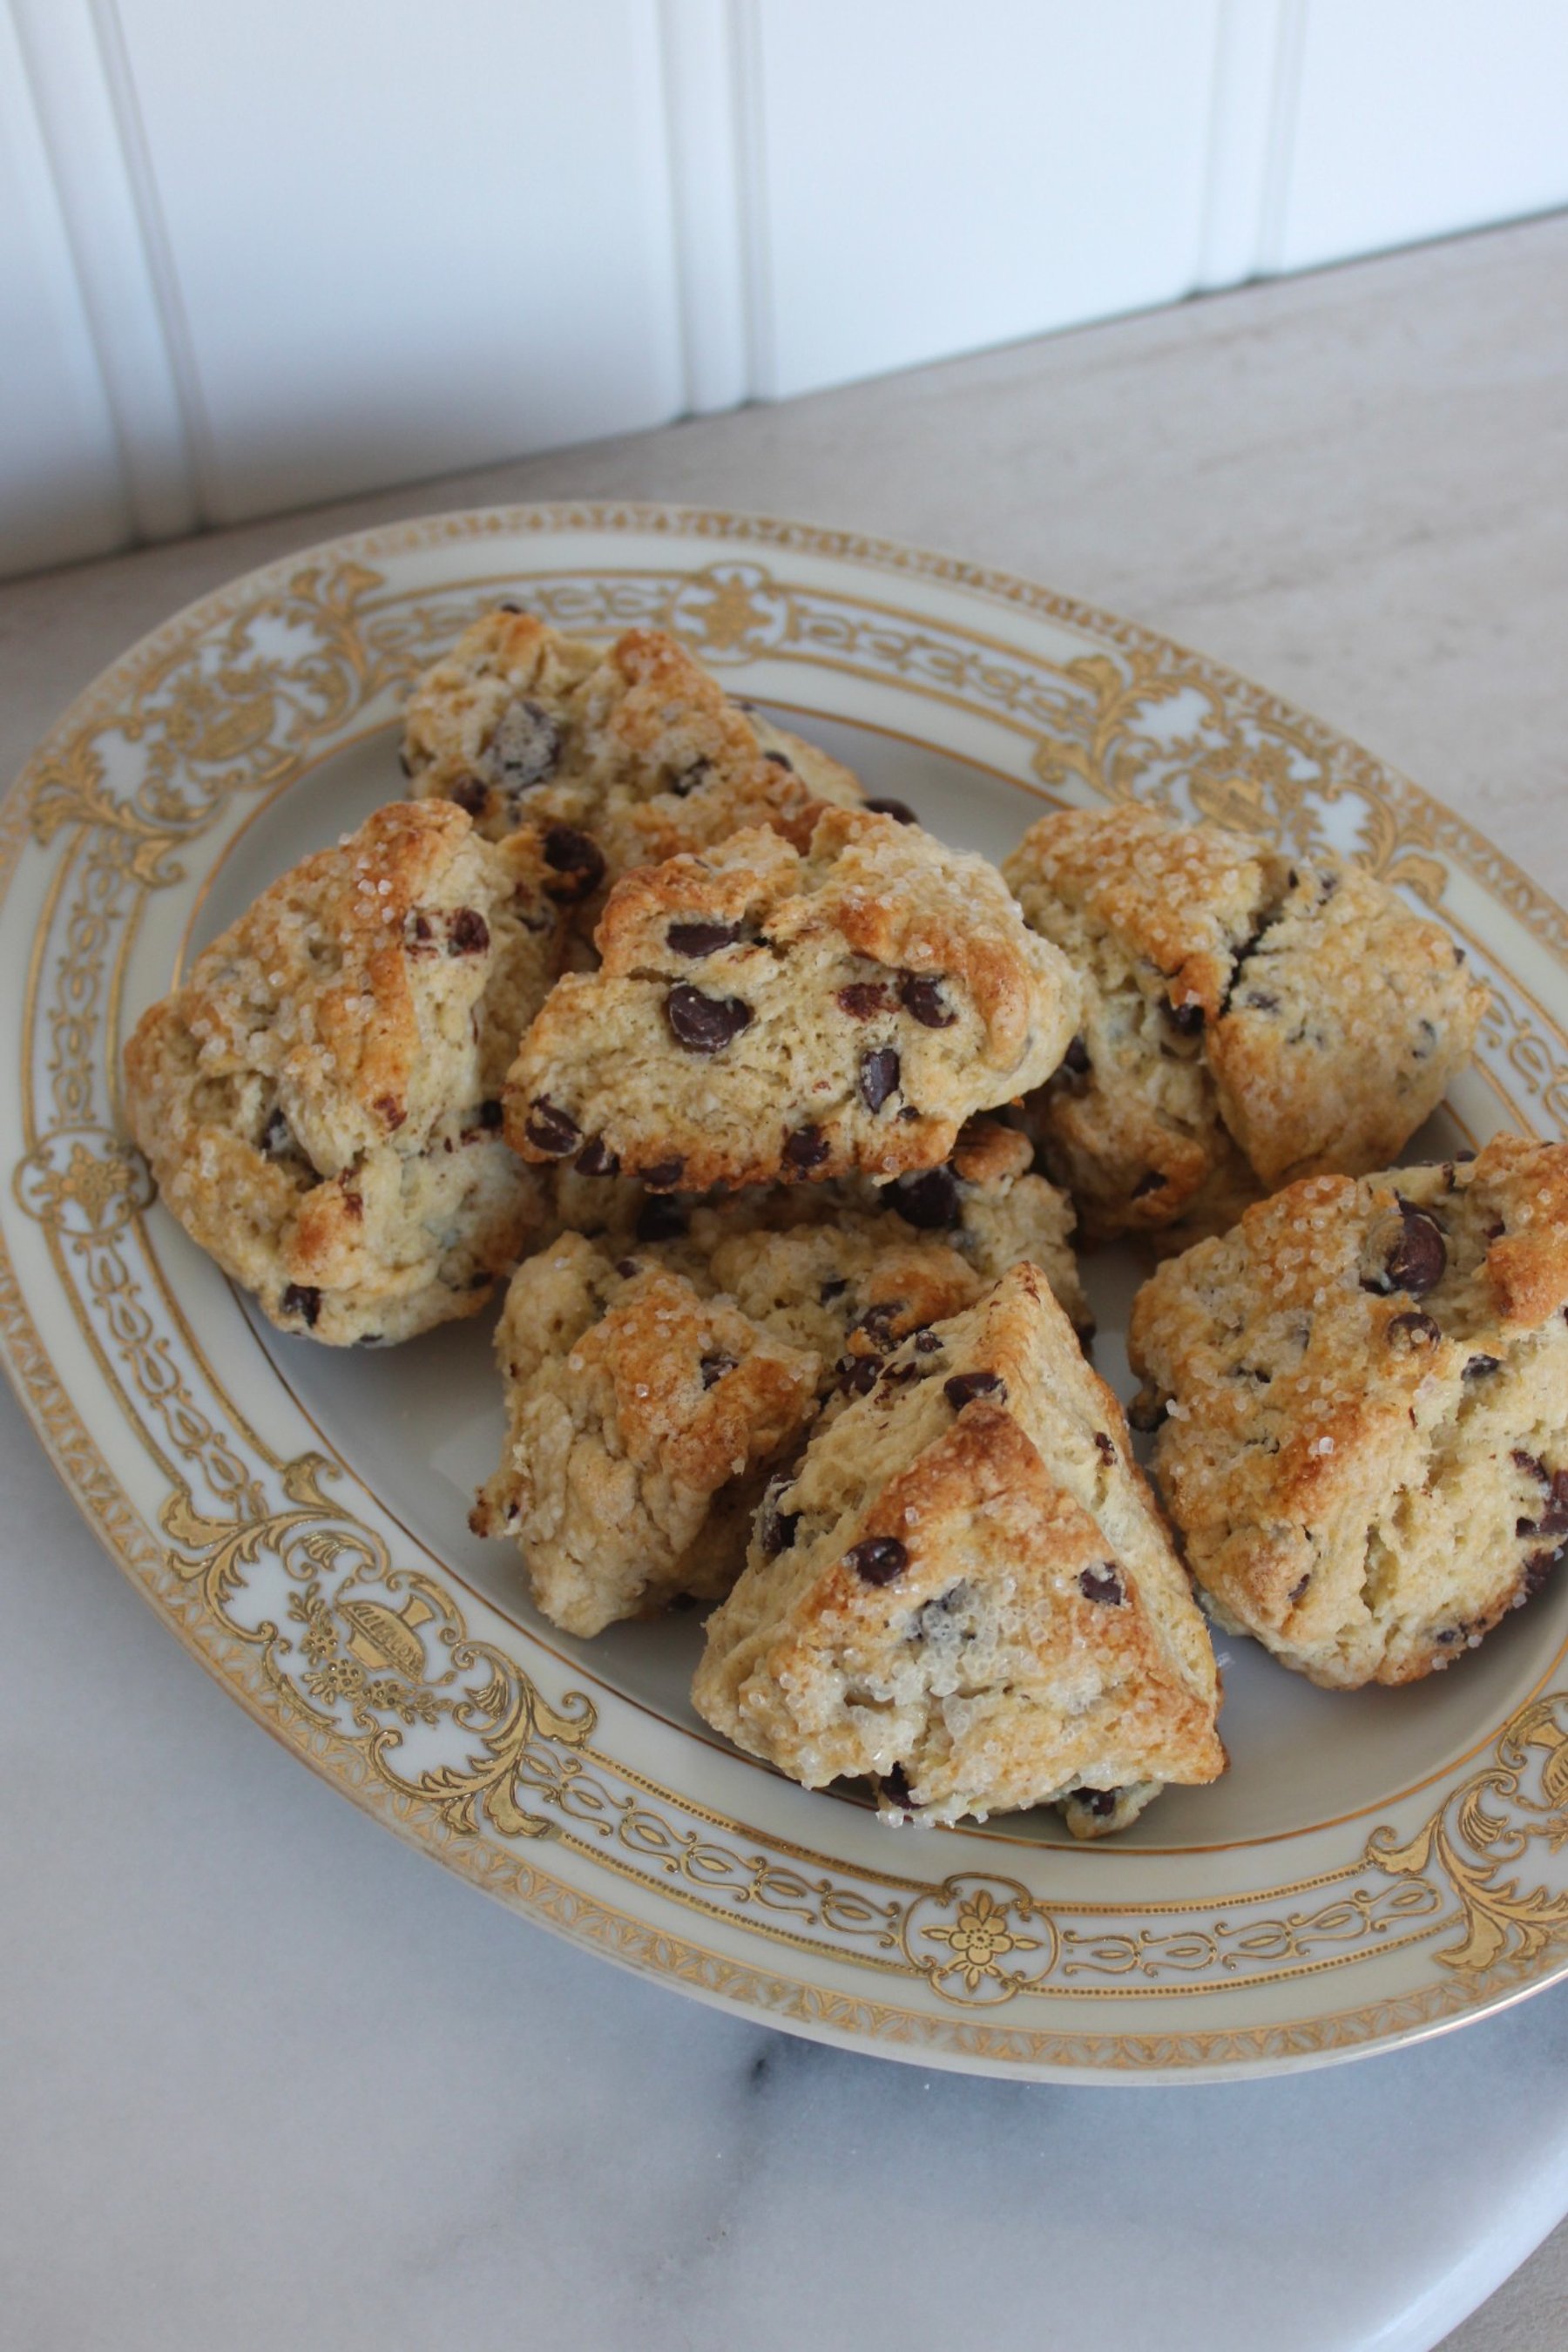
These chocolate chip sourdough discard scones are perfect. They're soft, pillowy, and packed with chocolate chips, with a buttery crumb and a delicious caramelized sugar crust on top. The sourdough discard adds a subtle tang that balances out all that sweetness. I love making a batch, freezing them, and having a little treat ready whenever the craving hits!
Chocolate Chip Sourdough Discard Scones
Ingredients
Dry Ingredients
- 150 grams all-purpose flour
- 100 grams bread flour
- 70 grams granulated sugar
- 30 grams dark brown sugar
- ½ teaspoon salt
- 1 teaspoon baking powder
- ½ teaspoon baking soda
- 113 grams (1 stick) cold unsalted butter, grated
- 120 grams chocolate chips (I like a mixture of regular and mini semi-sweet chocolate chips)
Wet Ingredients
- 100 grams sourdough discard
- 1 large egg
- 30 grams milk
- 2 teaspoons vanilla bean paste
For Topping
- Heavy cream, for brushing
- Coarse sugar, for sprinkling (optional)
Instructions
- 1
In a large bowl, whisk together the all-purpose flour, bread flour, granulated sugar, brown sugar, salt, baking powder, and baking soda.
- 2
Using a cheese grater, grate the cold butter directly into the dry ingredients. Toss everything together to coat the butter in flour. Then use your fingers to gently smash the grated butter into the flour until the mixture resembles wet sand.
- 3
Fold in the chocolate chips, making sure they're evenly distributed throughout the flour mixture.
- 4
In a separate bowl, whisk together the sourdough discard, egg, milk, and vanilla bean paste until smooth.
- 5
Pour the wet ingredients into the dry ingredients. Gently fold everything together until just combined. Don't overmix! The dough should come together but may have a few slightly dry spots.
- 6
Divide the dough into two portions. Shape each portion into a circle about 1 inch thick. Cut each circle into 6 triangles, giving you 12 smaller scones.
- 7
Transfer the scones to a lined baking sheet and refrigerate for 30 minutes. This helps the butter firm back up so the scones hold their shape while baking.
- 8
Remove the scones from the refrigerator and brush the tops with heavy cream. Sprinkle with coarse sugar for an extra crunchy, caramelized topping.
- 9
Bake at 400°F for 20–25 minutes, or until the scones are golden brown and cooked through.
- 10
Let them cool slightly before digging in. They're especially delicious while still a little warm!
Lauren's Note
- Grate your butter: This is one of my favorite tricks for making scones. Grating cold butter makes it so much easier to distribute evenly throughout the flour without overworking the dough.
- Don't overmix: Once you add the wet ingredients, gently fold everything together just until combined. Overworking the dough can make your scones tough instead of soft and pillowy.
- Use a mixture of chocolate chips: I love combining regular and mini semi-sweet chocolate chips. You get little bits of chocolate throughout the scone along with bigger pockets of melted chocolate.
- Don't skip the chill time: Refrigerating the shaped scones helps keep the butter cold and gives you a better texture once baked.
- Coarse sugar is worth it: That little sprinkle on top creates the most delicious crunchy, caramelized crust!
Frequently asked questions
Sourdough discard is the portion of your sourdough starter that you remove when feeding your starter. It's perfect for baking recipes like these because it adds flavor without requiring additional rising time.
Yes! You can use active sourdough starter in the same amount. Since this recipe uses baking powder and baking soda for leavening, you don't need the starter to be active to get a nice rise.
Absolutely! That's actually one of my favorite things about this recipe. Once baked and completely cooled, transfer the scones to an airtight freezer-safe container or bag. They'll keep well in the freezer for about 2–3 months.
You can reheat them straight from the freezer in the oven until warmed through. This brings back some of that freshly baked texture and makes the chocolate nice and melty again.
Yes! Shape and cut the scones, then freeze them in a single layer before transferring them to a freezer-safe bag. You can bake them from frozen, adding a few extra minutes to the baking time and checking that they're cooked through.
The combination gives you the best of both worlds. All-purpose flour keeps the scones tender, while bread flour adds a little extra structure and chewiness.